
What goes on the surface, and the chafe patches that go where the rig touches the sail. The second is the part that decides how long the sail lasts.
What you can choose
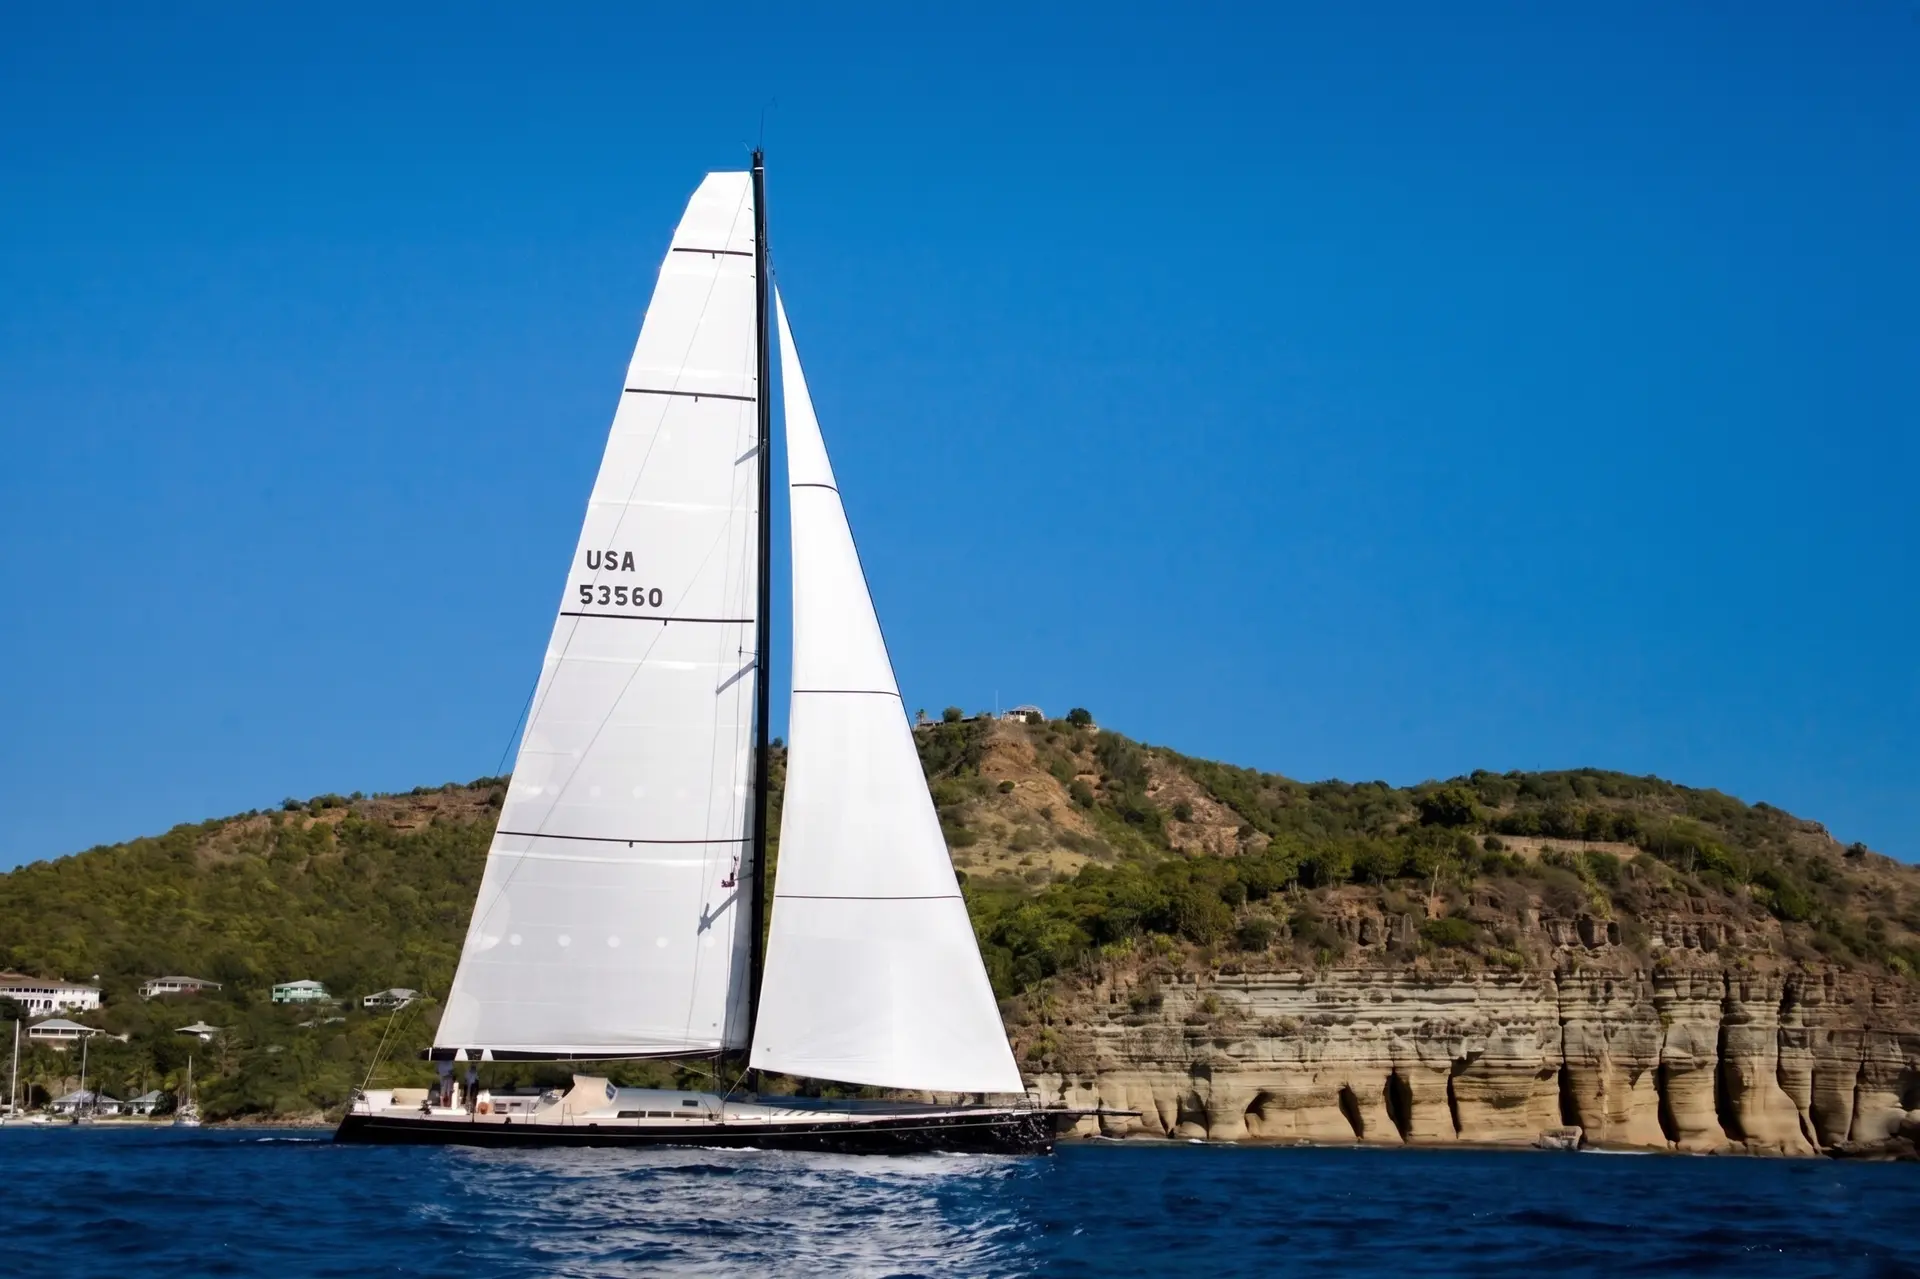
A sail number and insignia, where the boat carries them — both sides, country code above the number, the two faces offset in height so both stay readable when the sun is behind the sail. Character height and placement follow class rules where a class applies, and legibility where none does. A cruising boat that does not race needs neither, and plenty of cruising mainsails have neither.
 |
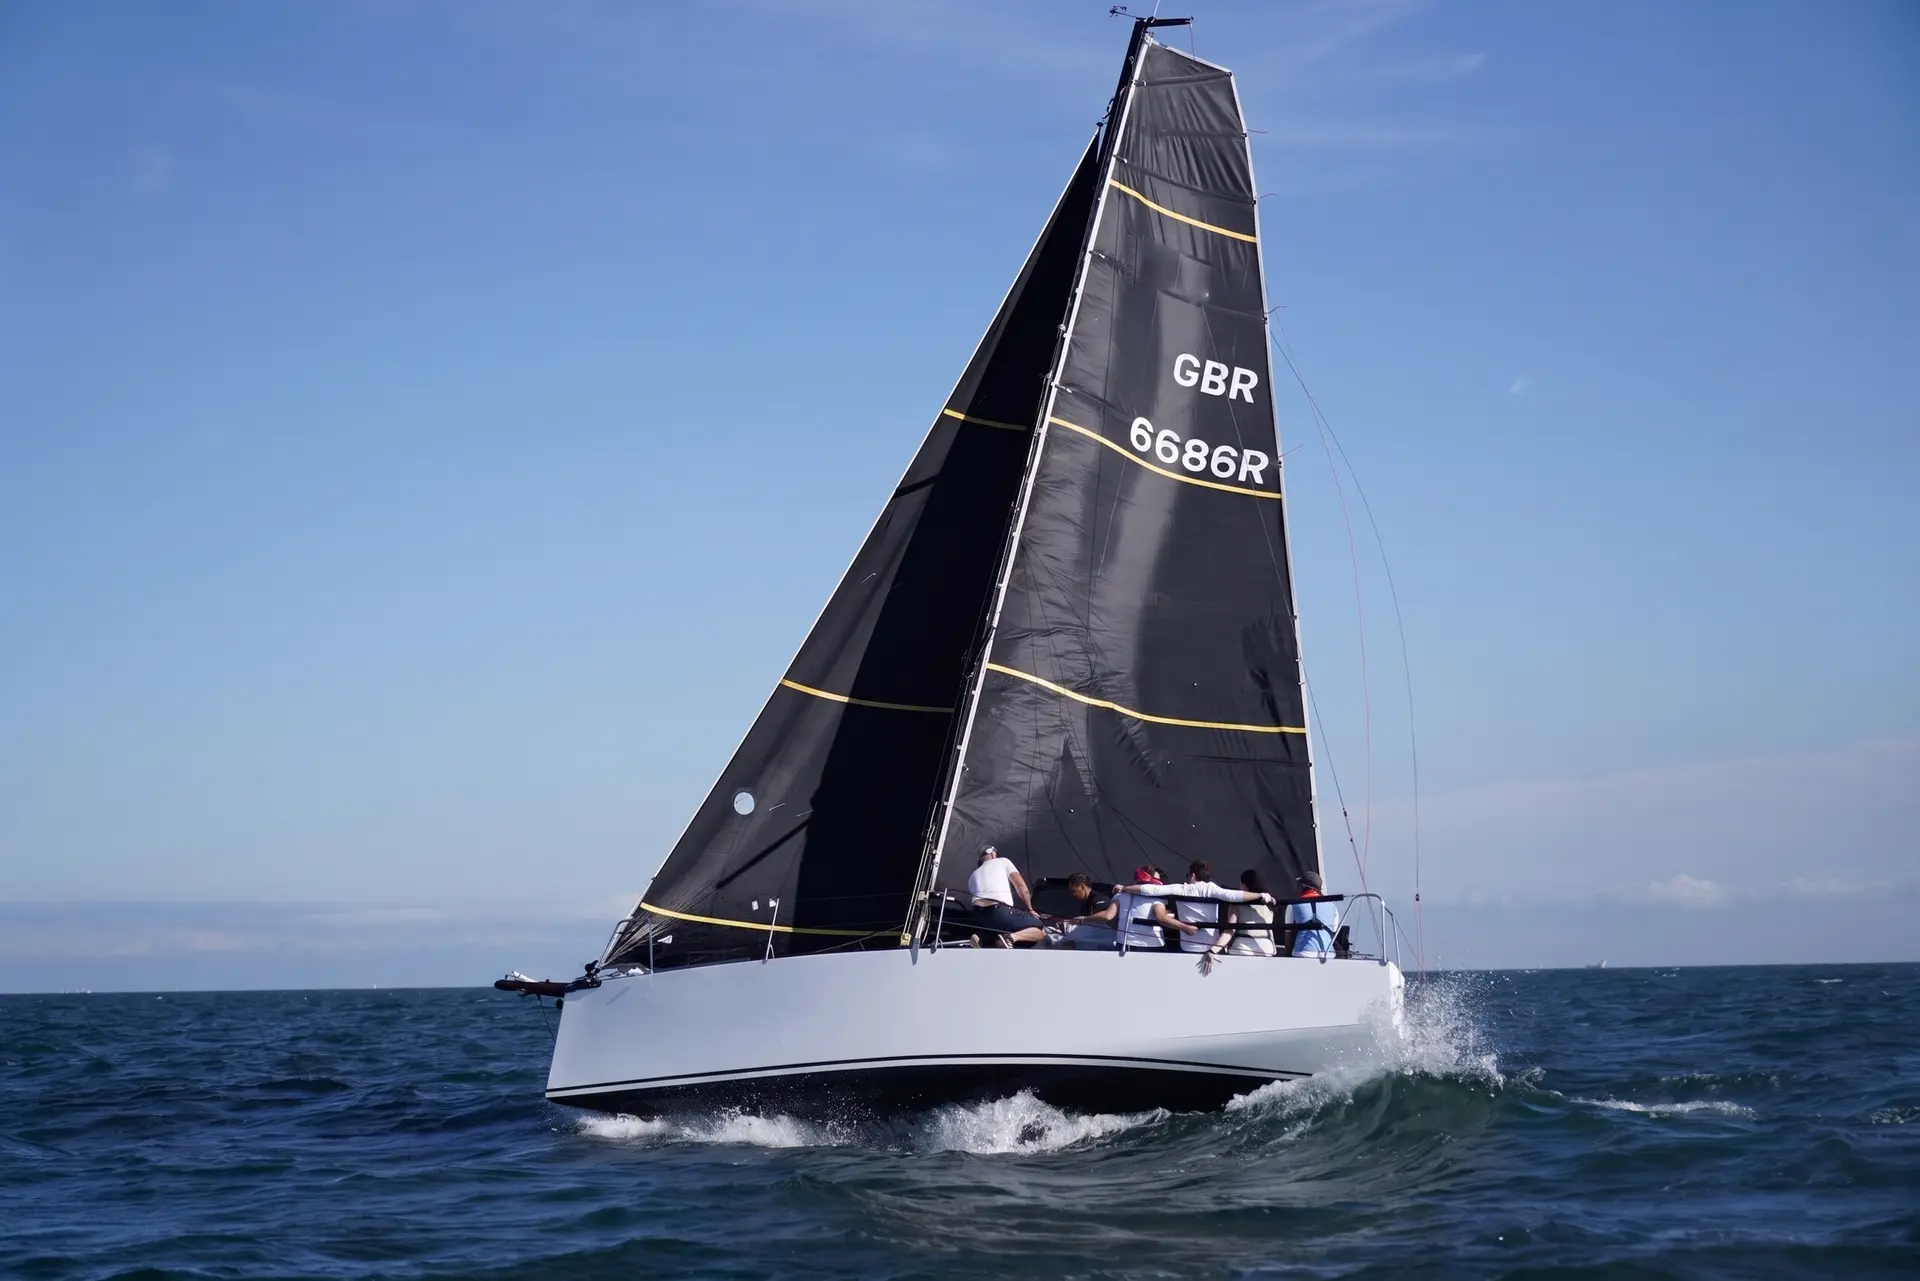 |
| White sailDark characters maintain contrast on woven white cloth. | Black sailLight characters remain legible on a dark laminate sail. |

Draft stripes, one to three, in a single colour scheme, so you can look up and see where the deepest part of the section sits and whether the sail is twisting as it should. Useful on a sail whose trim you actively adjust, largely ornamental on one you set and leave.
A logo, provided you have the right to use it and can supply it at a usable resolution. Expect a small offset between the two faces when the sun is behind the sail — the faces are separated by the thickness of a curved sail, and it is unavoidable. Artwork is checked in proof against how it will look flying. See the Sail Graphics, Logos & Markings Guide for the 4 production methods, weight considerations, and area calculation.
Telltales along the leech are standard rather than an option. They cost nothing and a sail without them is harder to trim for no benefit.
Tape and cover colours, and the bag. Which bag style suits depends on how the sail is stowed: one that lives on the boom in a cradle has different needs from one carried off the boat regularly.
Chafe patches, and how they arrive
Anywhere the sail touches the rig, it wears. On a mainsail that is normally where the sail meets the spreader ends with the boom eased.
Two ways to have them. We supply self-adhesive taffeta patches loose, in the quantity and size your sail calls for, and you fit them. Or you send us the positions off your existing sail and we sew them on before delivery.
They are not fitted in the loft by default because the correct positions depend on your rig, and the only reliable way to find them is on the boat: hoist the sail, ease the boom as you normally would, mark where the spreaders touch, note it for next time, stick them on. Half an hour, and it puts the protection where the contact actually is — which no amount of calculating from the sail’s dimensions will do.
Full battens and the shrouds. On a full-batten mainsail the batten ends work against the shrouds when the sail is eased. Chafe material can be added along the batten ends, at the cost of weight at the leech, up high, where weight matters most.
Good rig dimensions make it shorter. With proper mast and spreader dimensions we can work out where the contact actually falls and cover only that length instead of a generous span to be safe. It is one of the few places where sending better measurements directly buys you a lighter sail.
UV protection on a furling mainsail
A furling mainsail leaves one face on the outside of the roll, and that face takes the sun for as long as the sail is stowed. Which face depends on which way your sail rolls, so it follows from the system rather than being chosen.
A standard mainsail that drops into a cover does not need it — the cover is doing the job.
Configuring this at SurgeSails
Sail Number with colour and size, Insignia, Draft Stripes with the colour scheme, Sail Label, Bag Type and Spreader Patches. UV Protection appears only for furling mainsails, with the side.
Logo upload and placement sit in the Pro view, because they need position, size and rotation rather than a single choice.
Spreader Patches sets how many pairs come with the sail, not where they go. If you want chafe material built onto the full batten ends, ask in Design Note and send mast and spreader dimensions so it can be kept short.
Windows are not offered as an option; if you need one, describe where and why in Design Note.